
Pets bring joy, but they also bring claws, spills and plenty of chaos. Your flooring needs to handle all of it. Many New Zealand homeowners want flooring that stands up to daily life with dogs and cats.
The good news is that modern laminate flooring gives you strong, stylish, and practical choices. If you want flooring for pets, it pays to understand what features matter most before you buy.
Scratch resistance
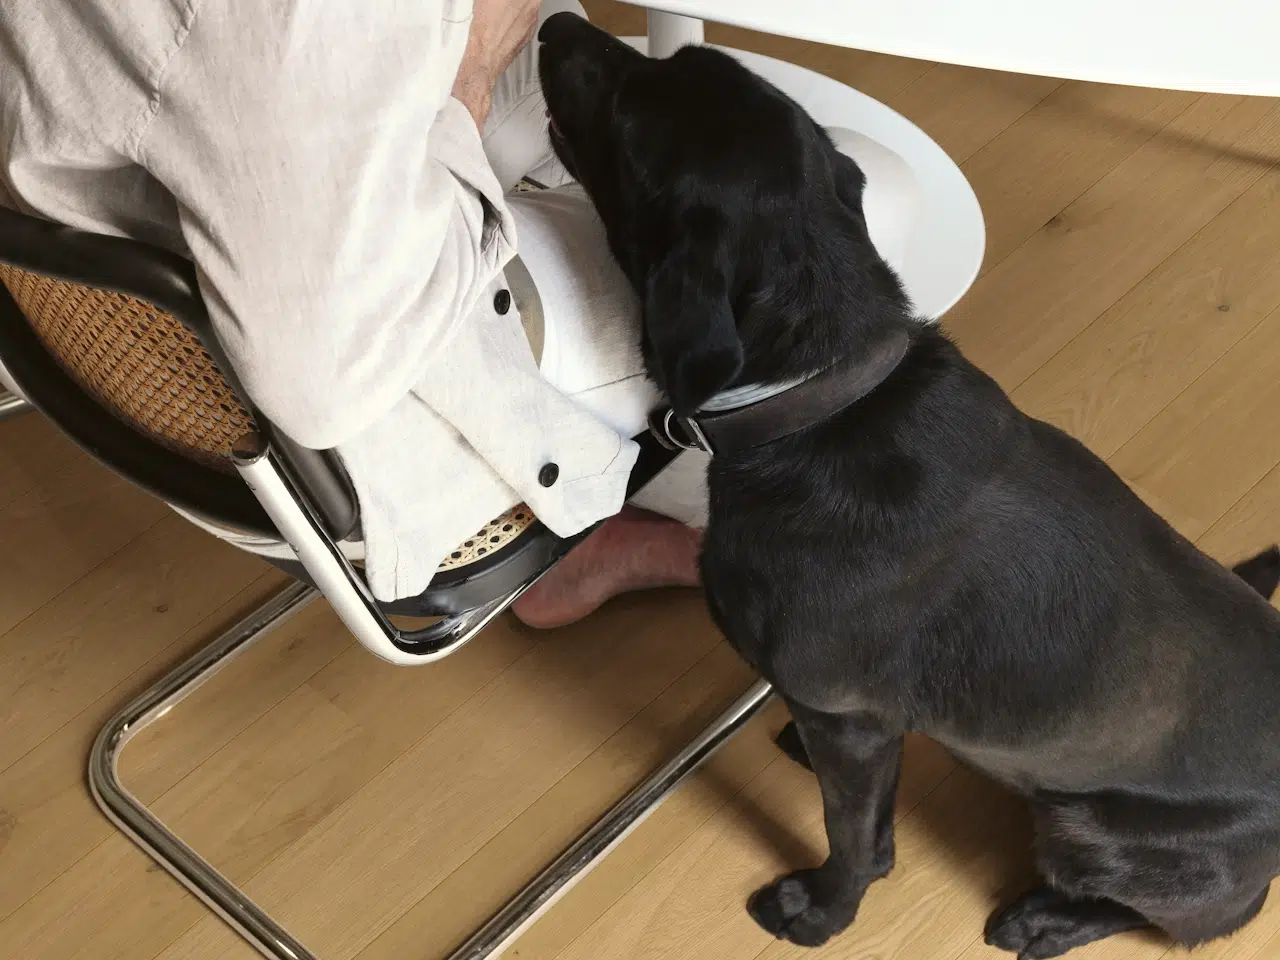
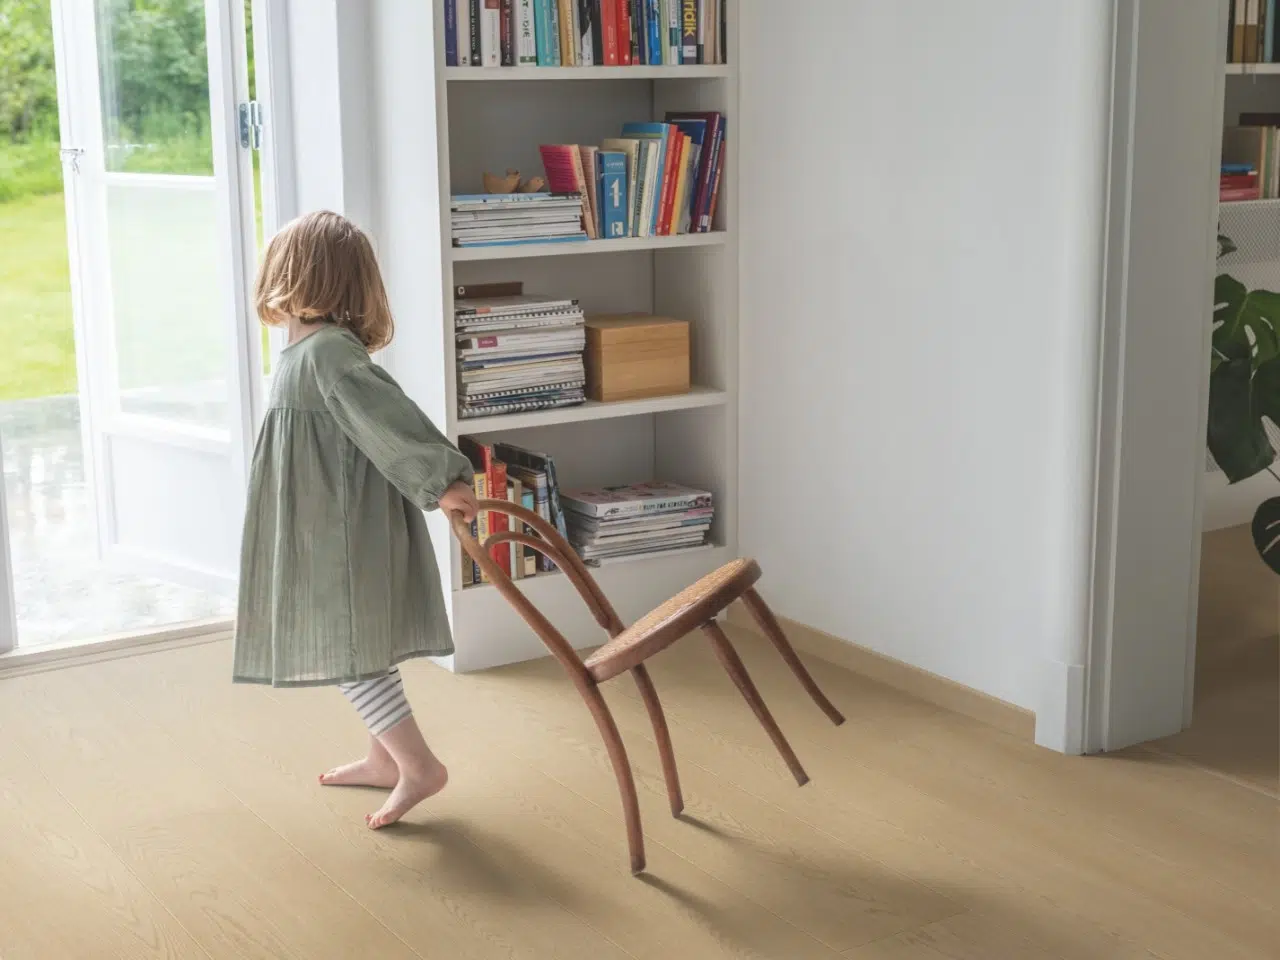
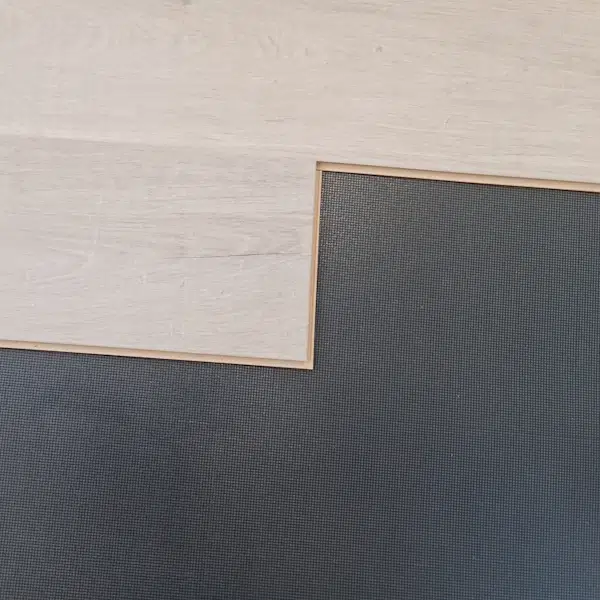
Scratch resistance is the first thing to check. Pets run, slide and turn fast, which can damage softer surfaces. Flooring for pets needs a tough top layer that protects against daily wear. Quickstep and Pergo laminate is a strong option because it uses a durable surface that handles claws well. You get a floor that stays attractive without constant stress or maintenance.
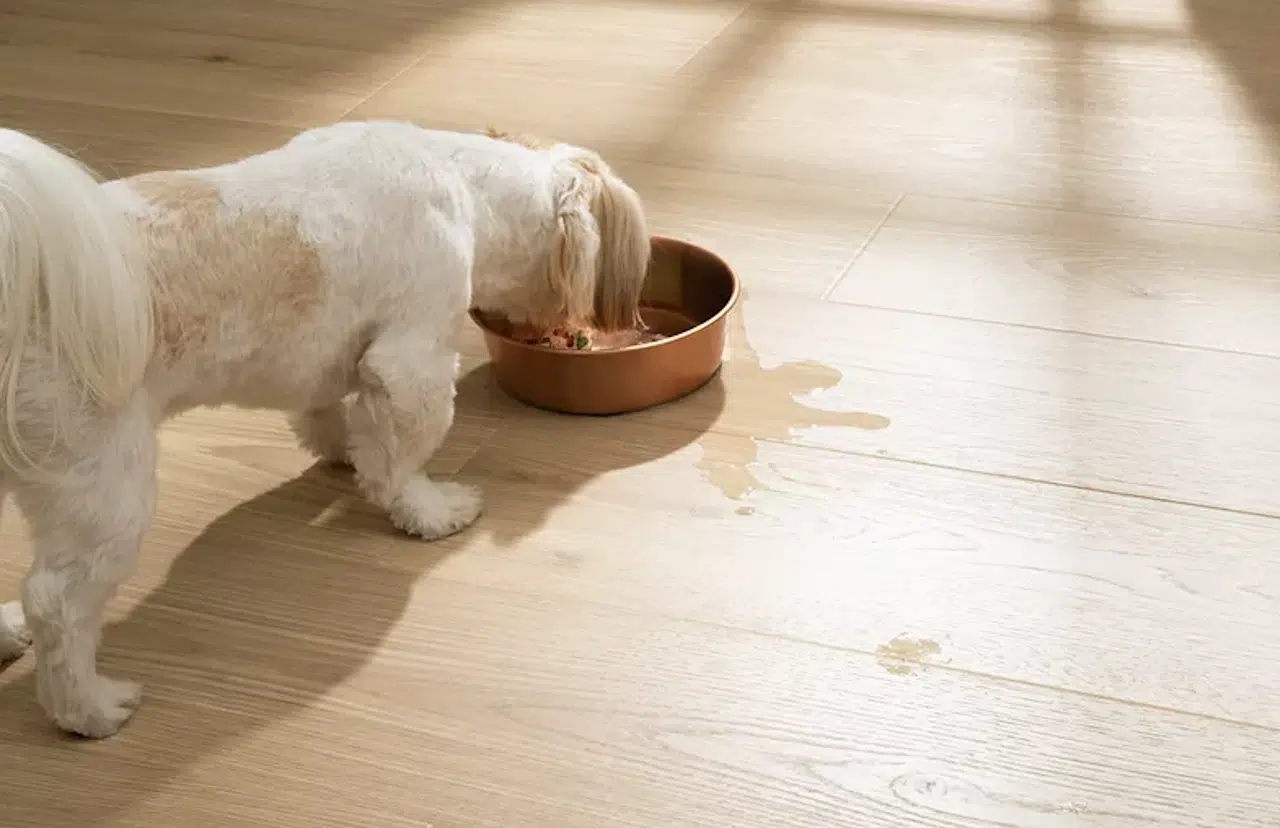
Moisture resistance
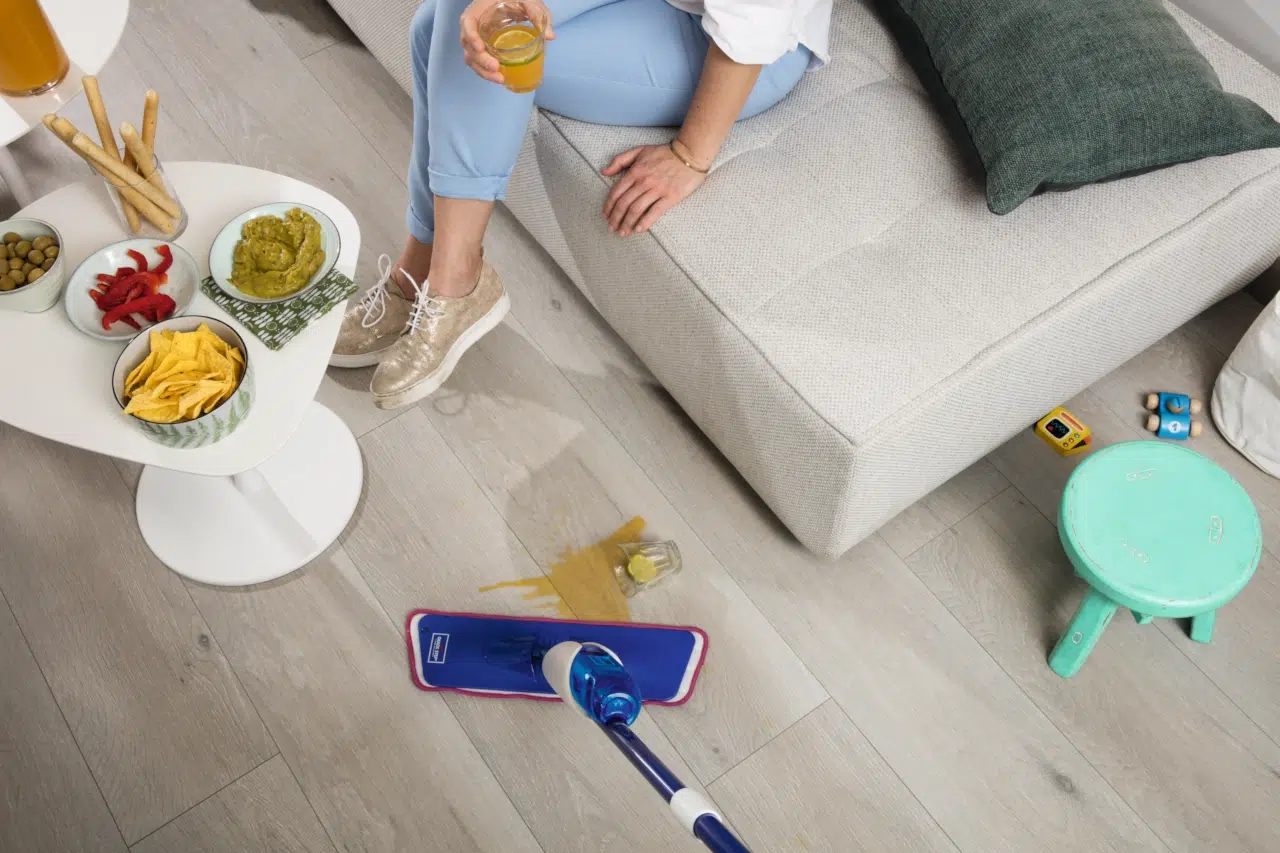
Moisture resistance is just as important. Pets can spill water, track in rain, and occasionally have accidents, so flooring needs to cope with moisture without swelling or staining. All Quickstep and Pergo laminates feature waterproof surface technology, allowing you to clean up quickly while reducing the risk of long term damage. This helps keep your floor looking fresh for years to come.
Quickstep’s All Pet Warranty
For added peace of mind, Quickstep’s Perspective Nature, Majestic, Muse, and Impressive ranges include an additional dedicated 15 year Pet Warranty. This warranty protects against surface damage caused by household pets, including urine, faeces, vomit, and scratching. It provides extra confidence when choosing flooring for homes with pets, covering the most common pet-related issues.
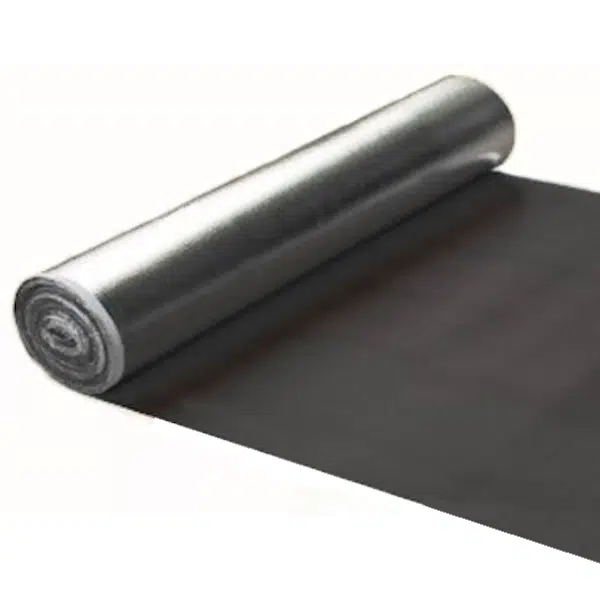
Comfort and noise control Matter too
Pets move around a lot, and some floors can sound loud or feel hard. Laminate with our quality underlay reduces noise and adds comfort underfoot. Your home feels calmer, and your pets enjoy a softer surface. It also helps create a more pleasant feel throughout your home.
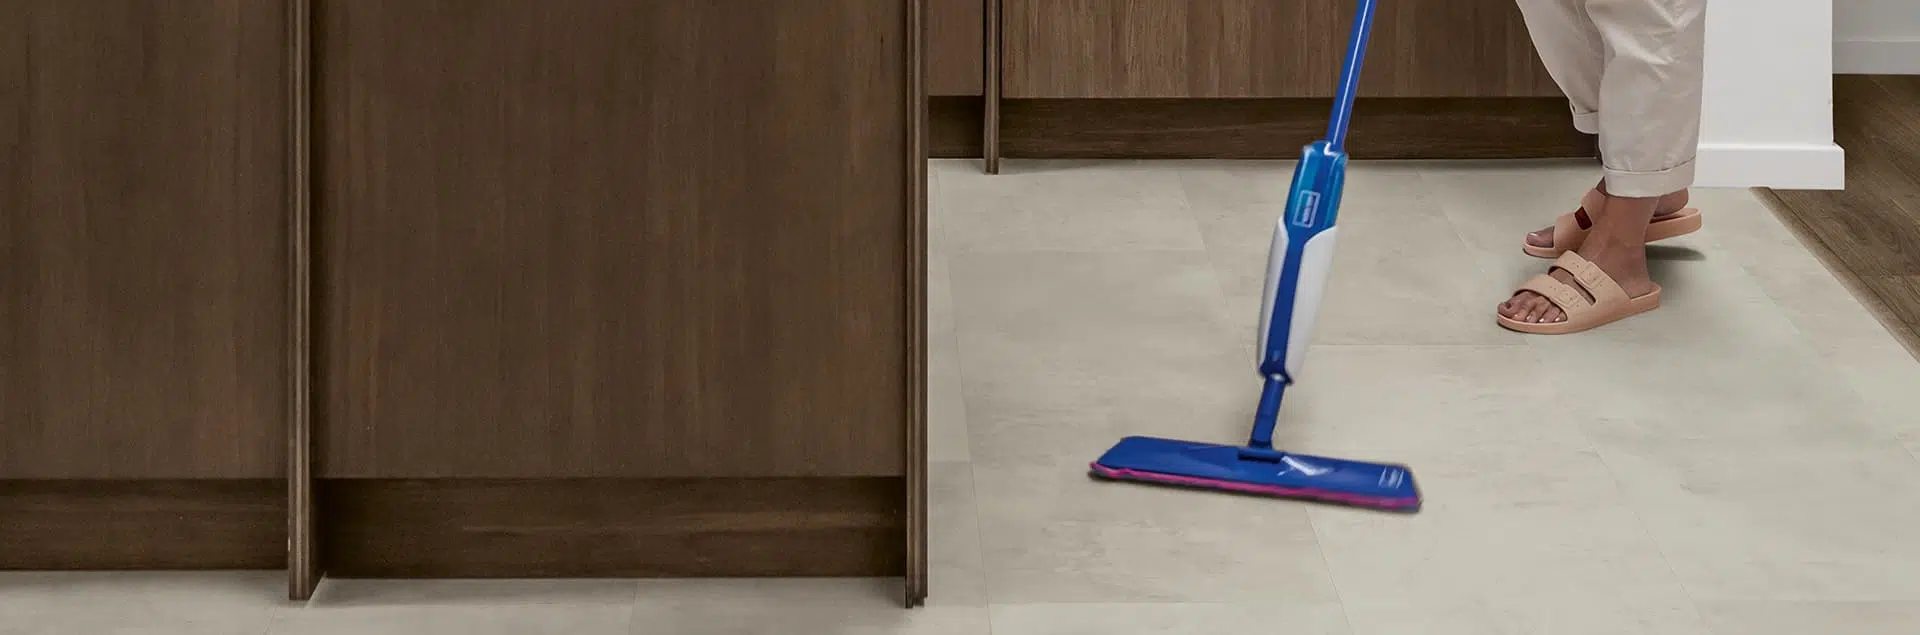
Maintenance is another key factor
Flooring for pets should clean easily and resist odours. Laminate flooring only needs simple sweeping and occasional mopping. Quickstep also offers its own cleaning products, which help keep the surface in top condition. You don’t need heavy maintenance routines, which makes life easier when you have a busy household.
If you want flooring that supports a home with pets then our laminates are a strong choice. They offer durability, moisture protection, and easy cleaning. Quickstep’s Pet Warranty ranges give you extra assurance and long lasting performance. Visit our showroom to see the styles in person or order samples from our website and find the best match for your home.